Table of Contents
Overview
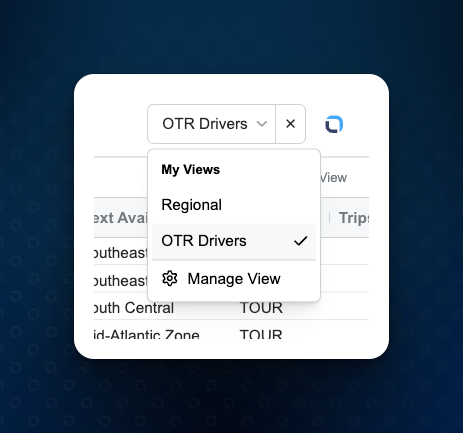
This workflow explains how to customize the Dispatch grid using filters and save those settings as a reusable view. Custom views are helpful for planners who need quick access to specific driver segments—like by zone, fleet, availability, or last location and using those lists in optimization without needing to reapply filters.
When to Use This
-
To monitor only a specific fleet (e.g., OTR drivers, MidWest Region)
-
To create filtered views based on availability or geography
-
To quickly reapply the same filters without reconfiguring the grid each time
- To create repeatable and consistent lists to submit for optimization
-
To support different users (planners, dispatchers, ops managers) with role-based views
Step-by-Step Instructions
Step 1: Navigate to the desired Module
For example, Go to Planning > Dispatch or Resources > Locations from the navigation sidebar.
Step 2: Apply Initial Filters
Use the top bar to filter by:
-
Employment Type, Fleet, Operation Type, etc.
You can also click + Add Filter to open the advanced filter list.

Step 3: Use Advanced Filters
From the filter dropdown, choose from options such as:
-
Last Location
-
Next Available Zone
-
Next Availability Start
-
Driver Ref. #
-
Remaining Shift Driving
Select your filter condition (e.g., “In”) and enter values like a city or zone (e.g., “Chicago, IL”).
Click Apply to update the grid.


Step 4: Save the View
Once your filters are set:
-
Click the Save View icon (floppy disk) at the top right.
-
Choose to either:
-
Save to an Existing View (updates shared or personal view), or
-
Save as a New View (creates a new reusable view for future access)
-
-
Click Save View to confirm.


Example Use Case
You want to monitor OTR drivers based in Chicago who are available within the next 24 hours:
-
Filter by Fleet: OTR
-
Add filter: Last Location → In → Chicago, IL
-
Add filter: Next Availability Start → Between → 0h / 24h
-
Save view as: “Chicago OTR - 24hr Window”
Tips
-
Saved views can be shared across the team if marked Public in Manage View drop down.
-
Use consistent naming (e.g., “Zone - Fleet - Status”) for clarity.
-
Views can be updated anytime without deleting them.
